by Mel Kendall

Fortunately, I had used my UC Master Gardener training and had done some preliminary planning prior to this panic attack. The UC Master Gardeners have created a link on their website entitled “Step by Step Garden Design.” This link was created to use as a resource on how to take a step by step approach to garden design and thus help avoid yard design dilemmas.
During the process of the pool removal I had created a draft design plan using the information from this link. I think I used a ream of paper creating multiple draft design plans until I came up with one that my husband and I both agreed was doable.I also perused the internet and ‘cut and pasted' multiple examples of pictures and how-to instructions of different ideas and plans that we liked, and created a dream list to use as visual examples as we moved forward. So, as I hyperventilated in the now filled in diving well, I took my researched materials, got a grip on my anxiety and got to work.
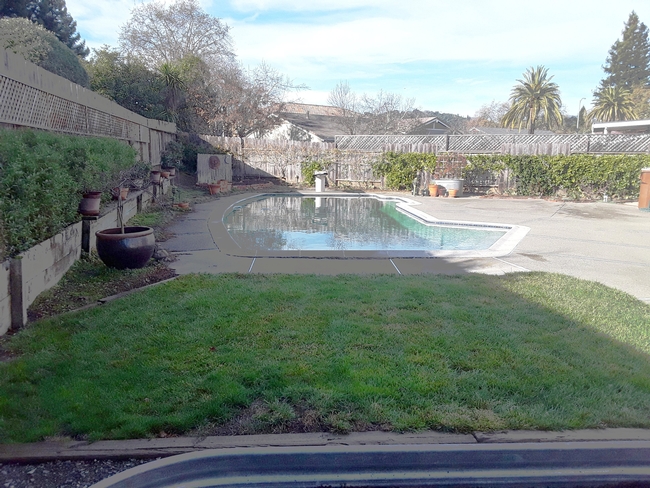
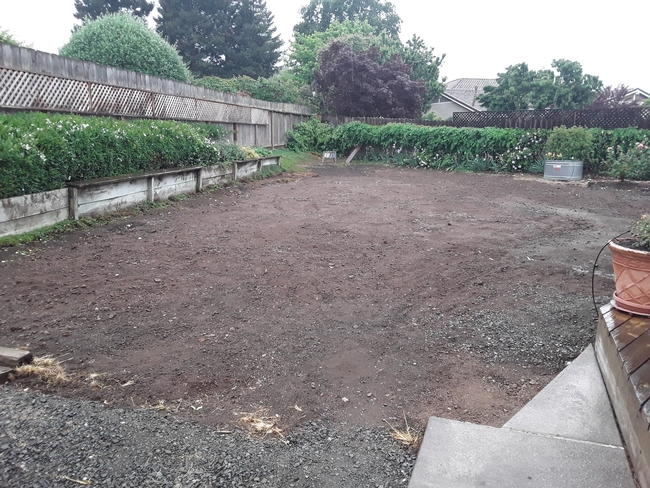
The area consists of compacted soil approximately 40 feet wide by 70 feet long. After the pool debris was removed the area was filled with construction dirt, not a good growing medium, and rocks. Our design goal is to create ‘rooms' or areas in the garden to sit, relax and enjoy the different views. A pergola area would provide seating on a paver surface, a faux creek that drained into a rain garden would accommodate any excess drainage created by the pool removal and the resulting changes in elevation, a small garden shed and potting area would be my work and general puttering area and last but not least, a small meditation labyrinth would be installed.

Our first big purchase was the potting shed structure. Once that was installed, we were ready to buy the trees for the area. These two items were first because they serve as anchors for the entire landscape and to provide perspective and scale to the overall plan.
We wanted to begin with more mature trees so they would give immediate impact. Our selections included trees that, once established, had low water requirements, provided color in the spring with flowers and were deciduous so that the area would open up during the winter months and allow more light into the house. Using extensively researched tree preferences in hand I visited a local tree farm to choose the perfect specimens. I discovered tree selection is like looking at wallpaper–overwhelming. Luckily, a friend helped who is also landscape designer. After touring acres of trees in pots ranging from large to enormous, having multiple conversations with my friend and the resident arborist about siting each tree, and considering surrounding influences I came away with three beautiful specimens. None of them bore any resemblance to the trees that were on my original wish list.
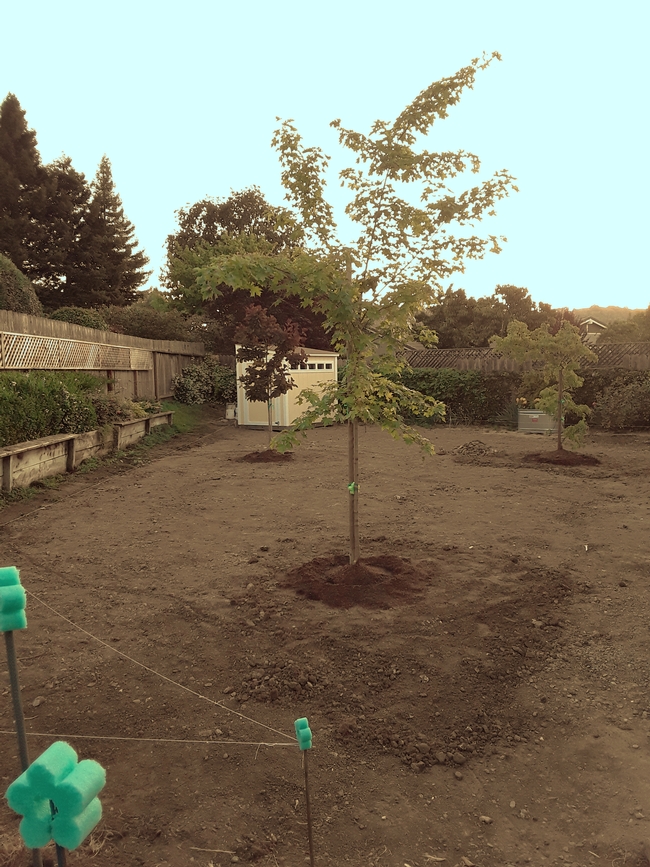
We came up with some beauties, though. For the area around the pergola and adjacent to the master bedroom we chose a maple called Acer ‘Warrenred' PACIFIC SUNSET®. It grows to 30 feet tall by 25 feet wide, is round and has a small "Canadian flag" shaped maple leaf with brilliant fall color. This deciduous tree offers the desired summer shade and winter light with only a fall leaf cleanup required.

The last tree, I chose for whimsy, Robinia pseudoacacia ‘Twisty Baby'.™ How can you not like a tree called twisty baby? Commonly called "Twisty Baby Black Locust" this tree makes me smile just looking at it. The trunk is just like its name suggests, twisty, and it has tiny bright green leaves in clumps that shimmy in the wind. It will be used in our landscape as a focal point near the proposed faux creek and will only grow to about 10 feet tall with a possible canopy spread of 12 feet.
When the trees were delivered, we placed them in the approximate area of the yard where they would eventually be planted and waited. Waiting a little while allows you to change their placement. We moved the trees around for about a week until we found the perfect location. Then, in the ground they went following the guidelines provided by the nursery. With trees in the ground, a whole new perspective was created and necessitated revamping our plans somewhat. That's okay; this is a process after all.
The trees are planted and we are ready to move on to the next step. Stay tuned for updates in the coming weeks as we continue our yard redo adventure.
Informational links:
UC Master Gardeners of Napa County, Step by Step Garden Design http://napamg.ucanr.edu/GardenDesign/
Acer ‘Warrenred' PACIFIC SUNSET® https://www.jfschmidt.com/pdfs/pacificsunsetmaple.pdf
Grace Smoke Tree Cotinus x 'Grace'
UC Master Gardeners Sonoma County http://sonomamg.ucanr.edu/Plant_of_the_Month/Cotinus/
Robinia pseudoacacia 'Twisty Baby'™
Oregon State https://landscapeplants.oregonstate.edu/plants/robinia-pseudoacacia-twisty-baby
UC Master Gardeners of Tulare & King Counties
Tree Planting Tips https://ucanr.edu/sites/UC_Master_Gardeners/files/23463.pdf
During Napa County's shelter in place directive that protects everyone's health and safety, Napa Master Gardeners are available to answer garden questions by email: mastergardeners@countyofnapa.org. or phone at 707-253-4143. Volunteers will get back to you after they research answers to your questions.
Visit our website: napamg.ucanr.edu to find answers to all of your horticultural questions.
Photo credits: All photos by Mel Kendall
