by Melody Kendall

During the year I have kept my garden shed reasonably organized but, bit to be honest, not very neat. When I finish digging, I have just knocked the extra soil off the shovel and stuck it in the rack. The sap on sticky pruners have received the same, or lack of, care. My gardening boots are crusted with soil and plant material and my gloves are dirty and frankly, stinky. All in all, the contents of the entire structure needs a thorough going through and clean out. Rainy days are perfect for this chore.
Last Christmas my husband gave me a transistor radio. I didn't know they even existed anymore, but I love to use it when I'm in my garden and it is perfect in the enclosed confines of the shed. With the radio blasting I laid out all my cleaning supplies. The usual dust rag, window cleaner and broom take care of the floor, shelves, windows and frames. The cloth gardening gloves go in the laundry and the leather ones receive a good brushing and leather conditioner. My boots and shoes also get a good brushing and a wipe down with a damp cloth. They are stacked neatly in their correct storage locations in the shed.

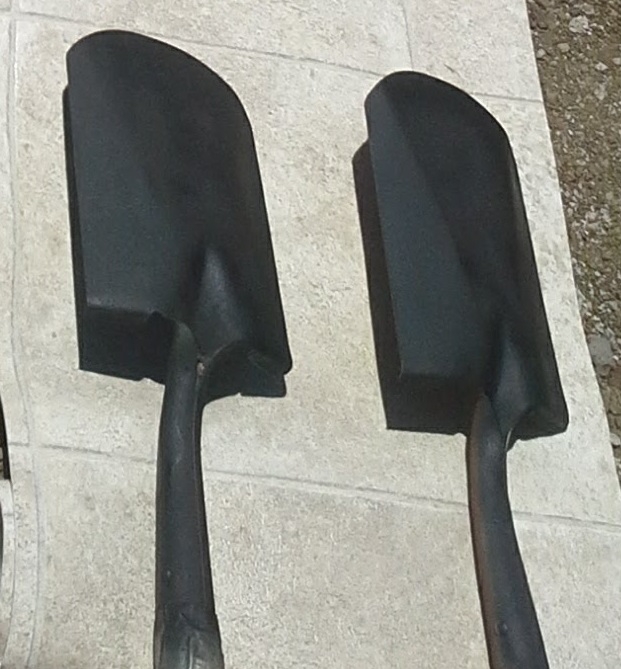
My shed is nice-sized, so I am able to lay out various hand tools on my workbench and the larger shovels and rakes on the newspaper lined floor. I disassemble the ones with moving parts one at a time; in one case I had to go online to see how to take that tool apart. Each hand tool is laid out on a clean towel, the component parts all in a line with the smaller pieces in a container. Unless I take that precaution, small parts have a tendency, around me anyway, to roll away and disappear for all eternity.
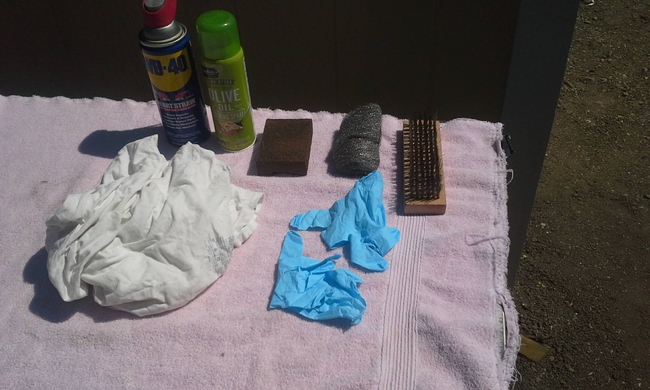
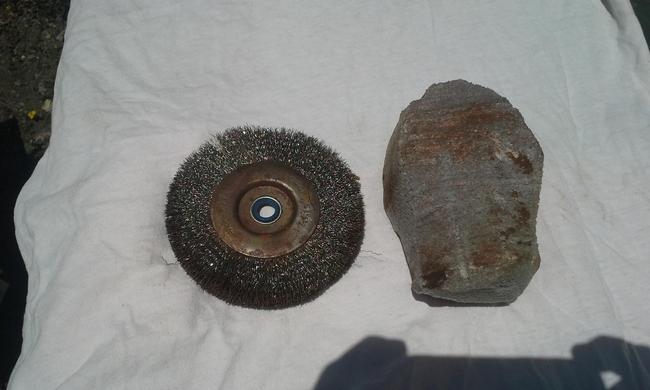
Every tool is cleaned and dried sap, soil and any rust is removed from the metal surfaces using the sandpaper, wire brush and steel wool. Stubborn spots are hit with the pumice stone and rotary wire brush.
After each tool is clean I wipe all surfaces, including the handles, with a clean cloth. If the handles are fiberglass the wiping down suffices. If the handles are wood, I sand out any splinters or roughness and wipe them down with linseed oil.

Here are some examples of types of blades on hand tools:
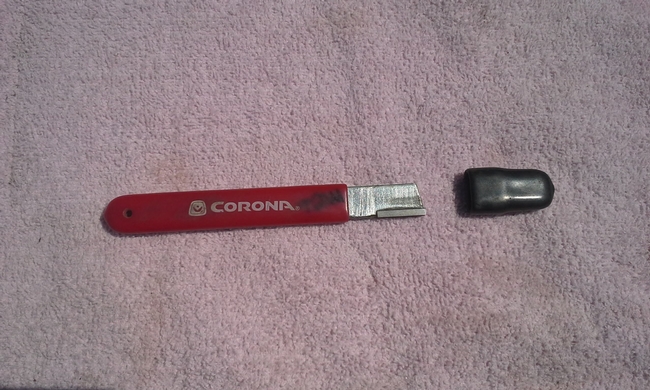
Bypass blade, those with a blade that uses a scissors movement to pass next to, not on top of, the lower surface. The edge to be sharpened is on the beveled surface or the outside of the moving blade, not the inside. Sharpening the inside of the blade would eventually make the space between the blades grow larger due to the minute scraping off of the metal as you sharpen.
Anvil blade tools feature a double beveled edge or a two sided blade that connects with a single flat surface/blade in a chopping motion. Both sides of the moving blade will need sharpening. Hone both sides so they have an equal bevel.
There is much controversy about the preferred blade style. Personally, I prefer the bypass style.

I reassemble the hand tools and wipe all the tools' metal surfaces with either the WD-40 or vegetable oil. I make a notation as to which tool I use which oil on for my records.
All that remains is to store the tools in their assigned slots and ‘voila' my shed and tools are cleaned, organized and ready to go come spring. Another rainy day was spent being productive and, because I was inside the shed, the neighbors didn't have to listen to or, worse yet, see my wild gyrations as I rocked out to my music.
Napa Master Gardeners are available to answer garden questions by email: mastergardeners@countyofnapa.org. or phone at 707-253-4143. Volunteers will get back to you after they research answers to your questions.
Visit our website: napamg.ucanr.edu to find answers to all of your horticultural questions.
Photo credits: Mel Kendall
Information links:
The Farmer Fred Rant Blog-Chuck Ingelshttp://farmerfredrant.blogspot.com/2009/08/anvil-versus-bypass-pruners-some.html
UCMG Santa Clara-Tool Care https://mgsantaclara.ucanr.edu/garden-help/tool-care-tips/
Cornell Cooperative Extension-Caring for your Tools https://fyi.extension.wisc.edu/cwas/files/2013/01/Caring_for_Your_Tools.pdf