by Melody Kendall

I spend many a winter day perusing seed catalogs and purchasing seeds in preparation for spring planting. Though I am intrigued by many interesting plants, I usually try to restrict my purchases to those suitable for our area (USDA zone 9b and Sunset climate zone #14). Sometimes I succumb to that irresistible urge of “I want that” and buy a variety that isn't recommended for our area. To date, I've had about a 60/40 success rate as those seeds do require a little extra TLC.
On each of the seed packets there is usually information about planting and plant care. Each packet will yield multiple years of seedlings or else many plants of the same variety, making for a huge garden. Once I tossed an entire seed packet of zinnias in a garden bed area. The seedlings came up looking like a chia pet and grew into a veritable jungle. It looked kinda cool, though. Since I don't need a huge garden, I won't plant them all. After seeding, I tightly seal the remaining seeds in their packets and store them in a cool, dark location for use next year. I make a notation on my calendar about where they are stored. I have forgotten where some have been in the past and discovered them years later. I should note that I planted them anyway and they still had a good germination rate even after five years in storage.
In the spring, seeds can be started indoors and outdoors. Planting seeds outdoors before the last frost date (April 15th in our area) is somewhat problematic as the soil is usually too cool for good seed germination. You can easily start them indoors, though, and once they have germinated you can move them outdoors after the soil warms. I found out the hard way that some seeds don't transplant well. It's advisable to read the seed packet information before starting any seeds.

For both indoor and outdoor seeding:
Soil- Plants need loose well aerated soil. Good drainage is necessary for seedlings, so choose soil and containers wisely.
Water- Seed germination starts with moisture. Any soil dryness will prevent or stop germination and kill the seed.
Temperature- All seeds have an optimal temperature range for germination, usually from 65-75° F.
Light- Most seeds need light to germinate
Advantages to starting seeds indoors:
• Allows you to control the environment. You can grow larger stronger seedlings to withstand the outdoor temperatures and insects, birds and other predators.
• You can use a sterile soil mix to reduce the potential for fungal diseases.
• You will easily be able to space the seeds at planting so you will not have to thin the small plants after germination.
Possible downsides of starting seeds indoors:
• All seedlings started indoors will need to be transplanted. Some plants don't transplant well. Research your chosen plants for any transplanting problems before you seed them indoors.
• All plants need light. When planted outdoors that isn't a problem. When planted indoors providing enough light could be an issue.
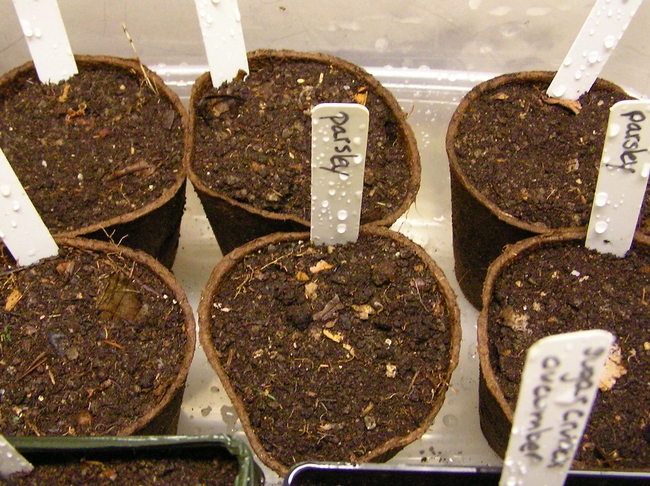
Starting seeds indoors:
1- Containers: You can start the plants in almost any container that has good drainage. Sterilize all containers with a 10% bleach solution (1 part bleach to 9 parts water) then rinse them well.
2- Soil prep & filling containers: In a large container, wet and mix the seed-starting soil well before using it to fill the containers within a ¼ inch from the top of the pot. Gently firm the soil but do not pack it down. Water the soil in each container again and allow the excess water to run off. The goal is to wet the soil well but not saturate it.
3- Planting the seeds: Most seed packets will have instructions about how deep each seed should be planted. A rough estimate is to plant each seed in the soil to a depth of approximately two to four times the seed's diameter. Cover each seed lightly with a loose sprinkling of moist seed-starting soil.
4- Create a “greenhouse”: Cover newly planted seeds with plastic wrap or some type of clear cover so that the soil remains moist. Dry soil equals dead seedlings.
5- Temperature control: If you keep your seedlings in a warm (70-75° F) this will speed the germination.
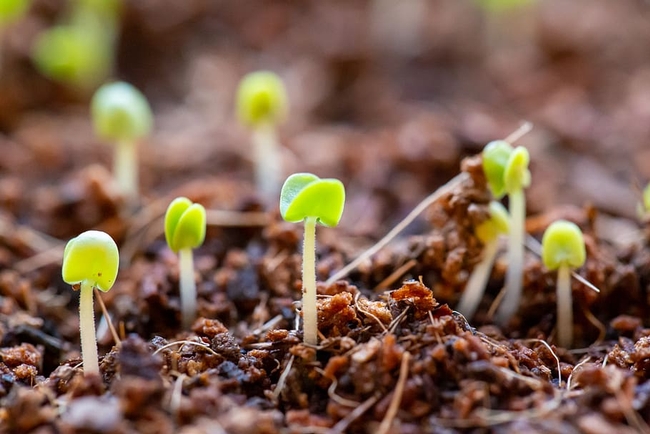
6- Light source: Once the seeds germinate, move them to a cooler location with a bright light source. A south-facing window or a grow light placed approximately six inches above the seedlings.
7- Watering: Water regularly to keep soil moist, but not soggy. Do not overwater.
8- Prepare seedlings for outdoors: Before planting outdoors, place new seedlings in their containers outdoors for a few consecutive days for progressively longer periods to get them used to the outdoor temperatures. This is called “hardening off.”
9- Transplanting to new outdoor location: Follow the directions below for outdoor planting to prepare the new location in the garden. Then gently remove each seedling from their container and place the plants in this prepared soil. The new plants should be placed slightly higher than the surrounding soil so water will not pool around the base of the plants. Tuck the plants in with the surrounding moist soil.
Starting seeds outdoors:
1- Site prep: Clear the desired planting area of debris, weeds and dirt clods. If necessary, apply soil amendments and/or fertilizer at this time. Plants will need loose, well aerated soil. Water the soil well.
2- Test soil temperature: The seed packet will usually tell you the desired soil temperatures needed for successful germination.
3- Plant according to soil type: If you have light loamy soil, plant the seeds at the same depth as you would indoors and cover the planted seeds with a light sprinkling of the loamy soil. If you have heavier soil, like clay, plant the seeds a little shallower and cover the planted seeds with vermiculite.
4- Water the seeds gently and lightly to not disturb this soil/vermiculite covering. Mist the seeds daily to keep the soil moist until the seedlings emerge.
Continued watering and care of both types of seedlings once outdoors:
Water as needed to keep the soil moist but not wet until the new seedlings are well established. Then, cut back the watering to the specific water requirements of each type plant as described on the seed packet. Consider protecting the new seedlings with a fabric row cover or something similar. This will prevent the local predators and heavy rains from damaging vulnerable seedlings. Weed regularly so plants have the best chance to thrive without competition. I just gave my husband a “heads up” that I'm starting my seedlings and that the kitchen counter, with its west facing windows, will be my seedling nurturing location for the next few weeks. He just kept reading his newspaper. What a party pooper.
Napa Master Gardeners are available to answer garden questions by email: mastergardeners@countyofnapa.org. or phone at 707-253-4143. Volunteers will get back to you after they research answers to your questions.
Visit our website: napamg.ucanr.edu to find answers to all of your horticultural questions.
Photo credits: Flickr, pxfuel (seedlings)
UCMG Napa County
UCMG Placer County https://ucanr.edu/sites/ucmgplacer/files/171555.pdf
UCMG Marin County https://marinmg.ucanr.edu/CARE/PLANTING/Seedsandstarts/
Damping off https://ucanr.edu/sites/ucmgplacer/files/171557.pdf