By Bob Niklewicz PT
Last week I introduced you to the Class 1 Lever. It is the primary lever used in pruning and prying up large stones or the toughest of weeds. I presented the key elements to successfully overcome stubborn weeds or thick branches. Those elements are: Applied Force, the Fulcrum and Resistance. Force is what the gardener generates physically when they use pruners/scissors or a pry bar.
Leverage can also help you protect your back and legs when the amount of resistance becomes even greater or the quantity of materials is larger than can be safely handled.


In those cases a “Class 2” Lever is what you need. A “Class 2” used in the garden is most commonly found in a wheelbarrow. Image 2. You could carry the weight the old fashion way like the men grunting in Image 1. Or save your back, legs and several trips by using a Wheelbarrow Image 2. A wheelbarrow is a Class 2 lever set up. The weight is placed between you and the Fulcrum.
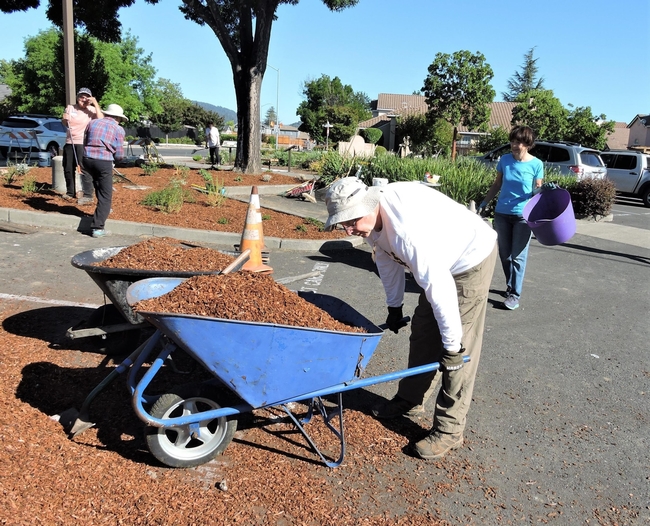
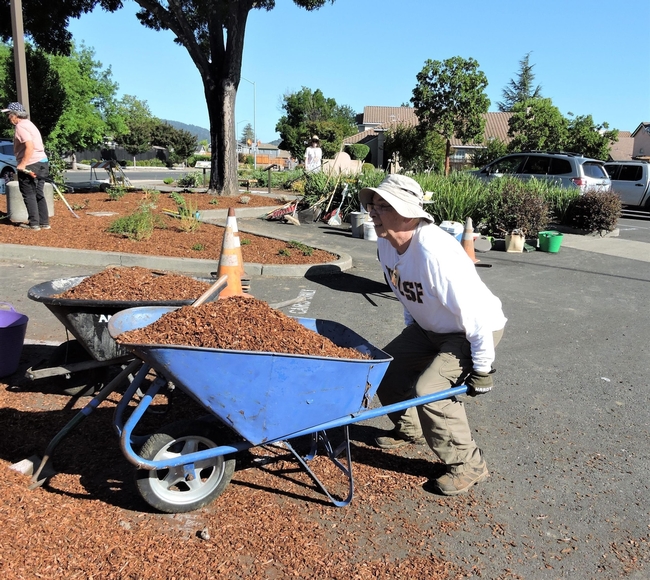
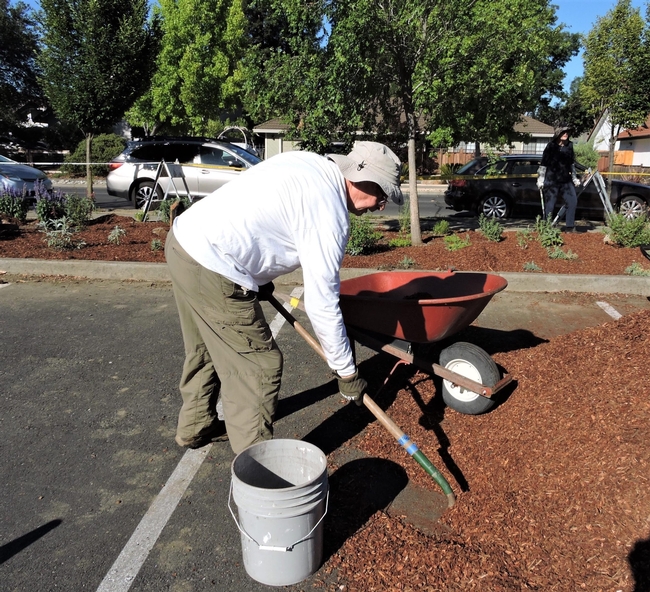
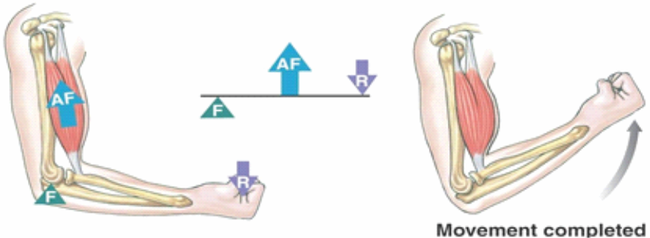
In Image 6 the load (resistance) is at the end of the lever (wrist, holding shovel) and the effort (your lower hand) and the fulcrum at the top hand. When the effort (your lower hand) is further up from the shovel blade, you will stand straighter but will have less power to lift. In Image 7 the hand is even closer to the blade. You will have more control and power, but you take the chance to strain your low back. In Image 8 The person can stand much straighter, move faster but has less power. A trade off to protect your back.
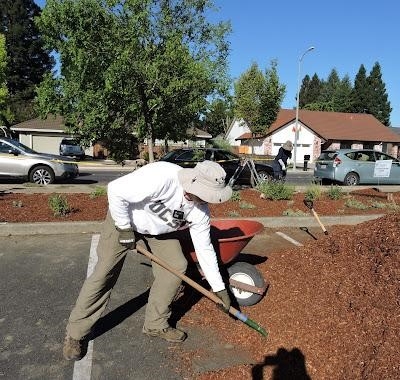

Bottomline: Use tools that allow you to “leverage” a task without hurting your body.
Napa Master Gardeners are available to answer garden questions by email: mastergardeners@countyofnapa.org. or phone at 707-253-4143. Volunteers will get back to you after they research answers to your questions.
Visit our website: napamg.ucanr.edu to find answers to all of your horticultural questions.
Photo credits:
Image 1, ABC News; Image 2, Dreamstime; Wheelbarrow and shovel photos by Olga Morham; Diagram 5, (elbow joint), CC-BY-SA; Image 8, Dreamstime
Information links:
UHSBerkeley.edu-ergonomics tips for gardening at home
https://uhs.berkeley.edu/sites/default/files/ergonomics_tips_for_gardening_at_home.pdf